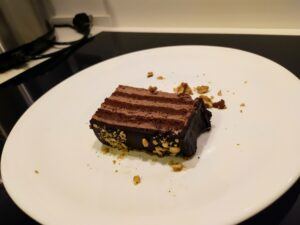
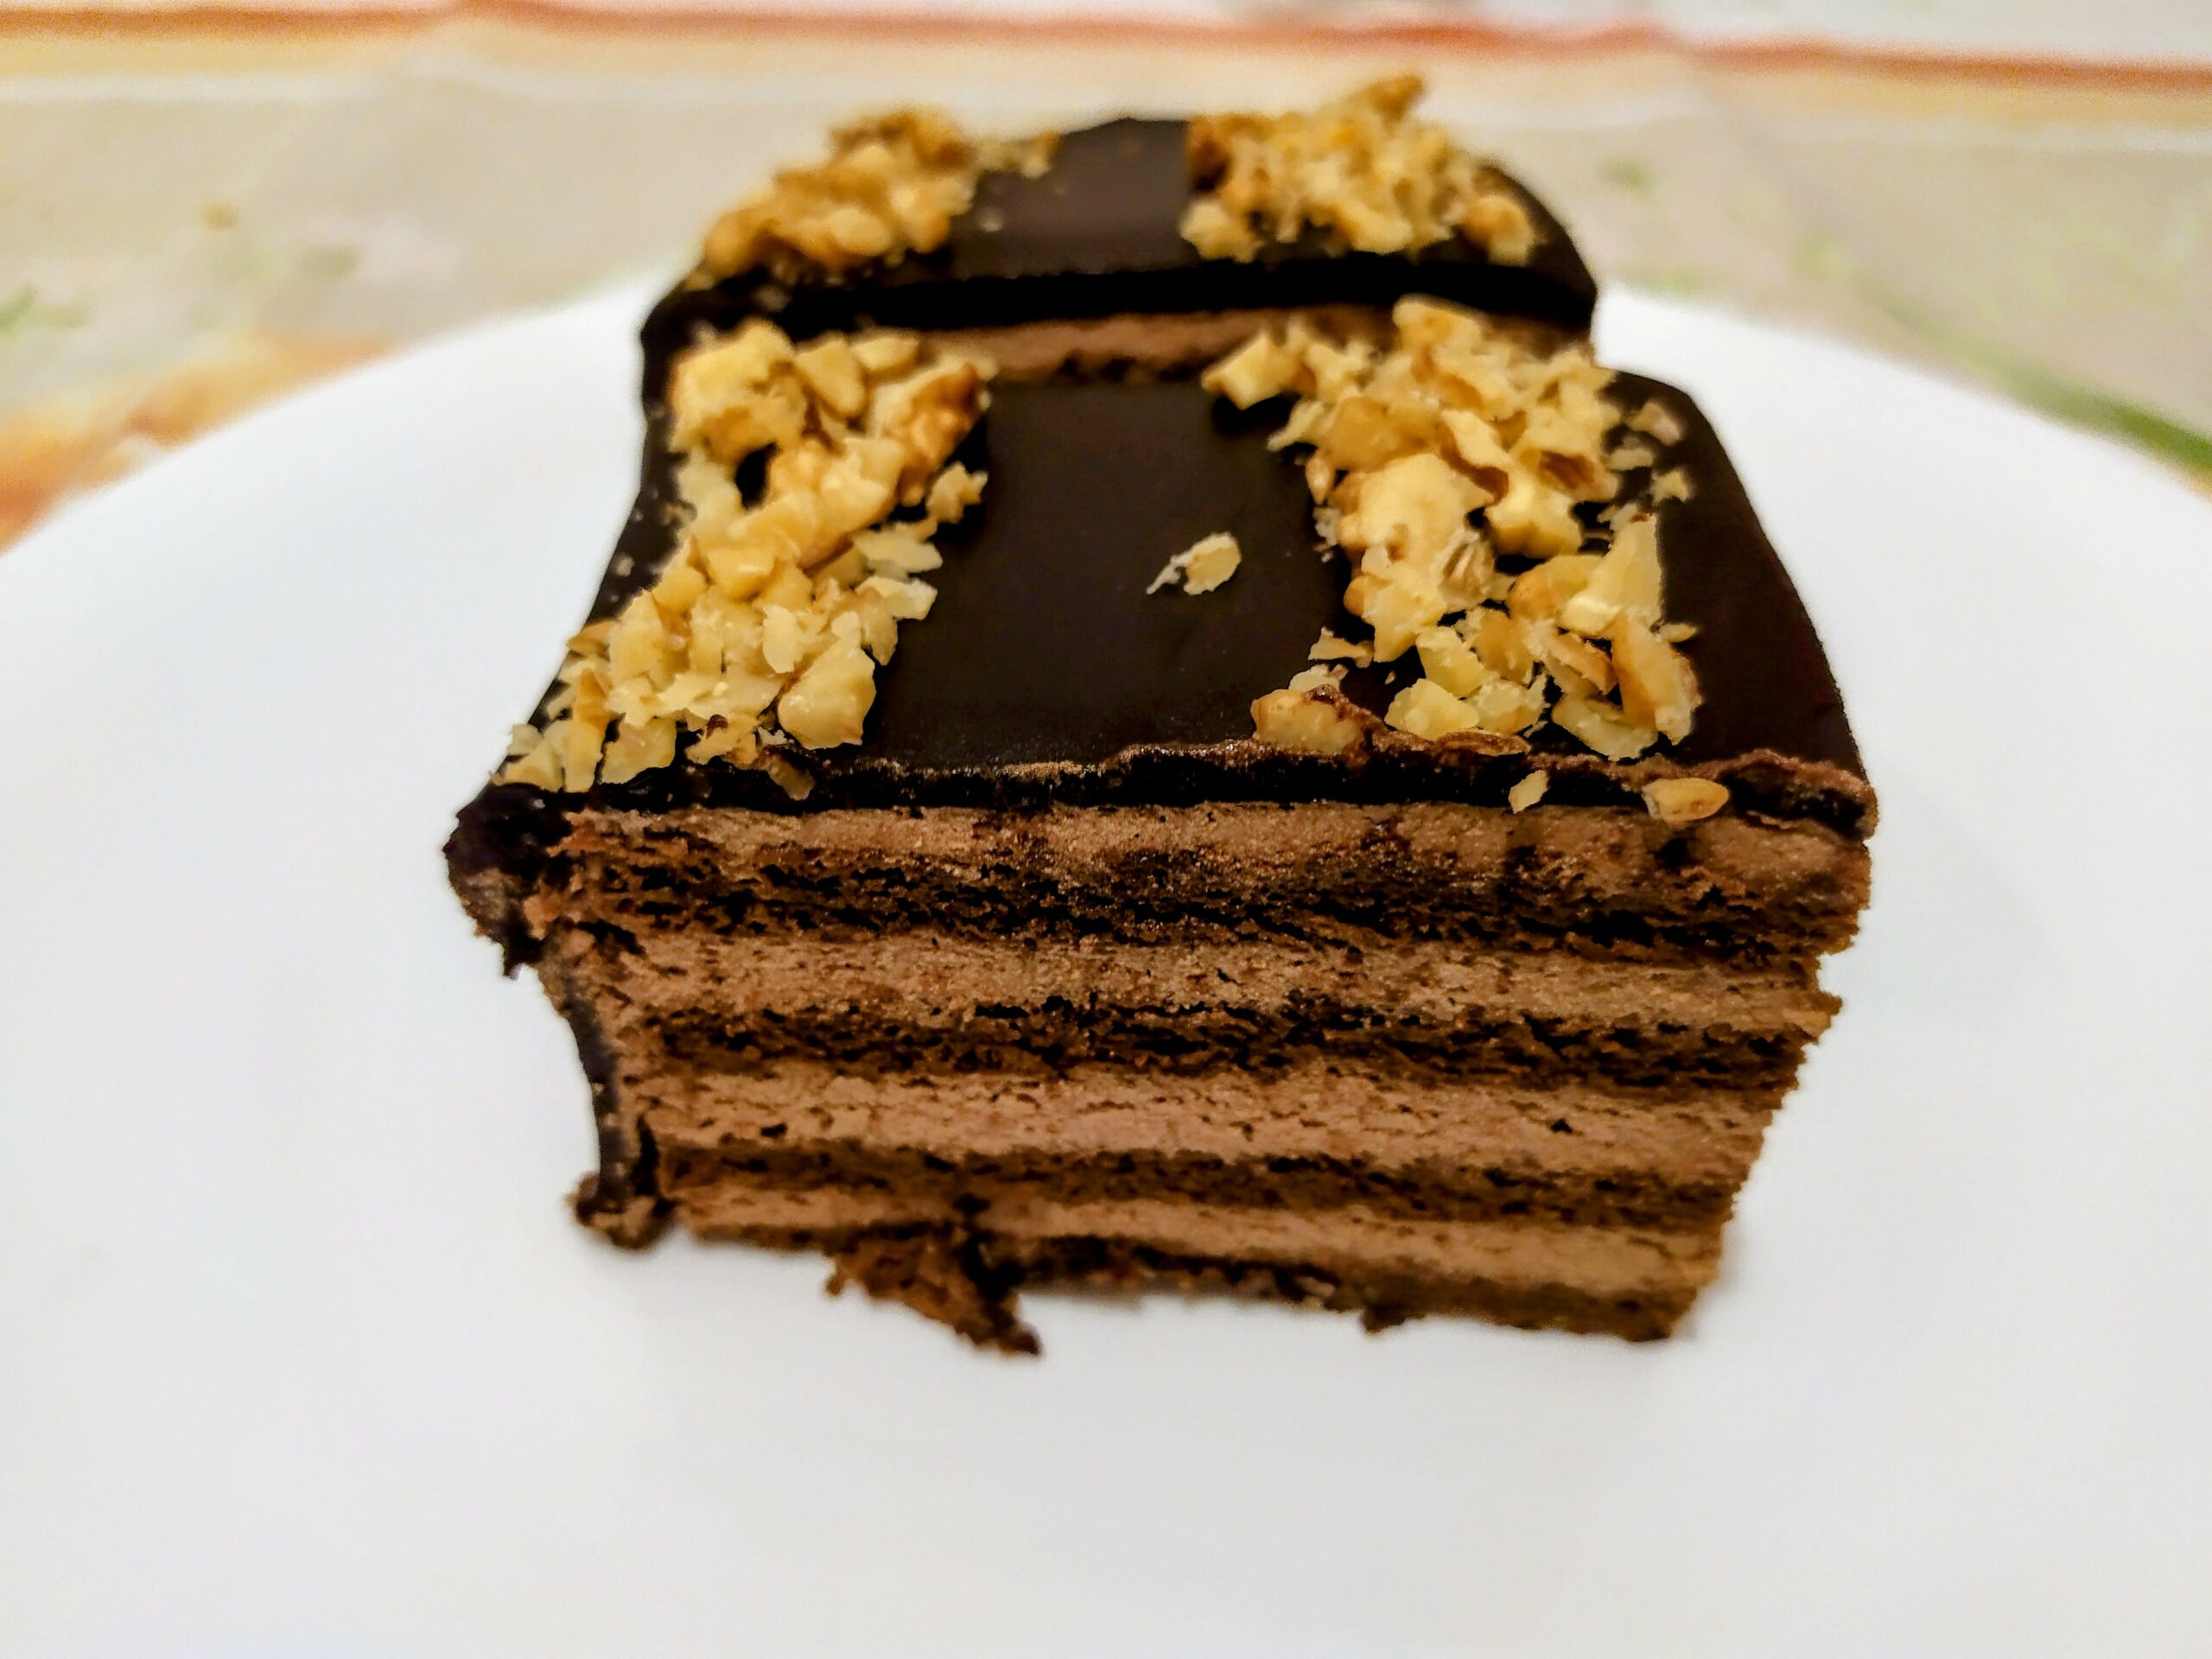
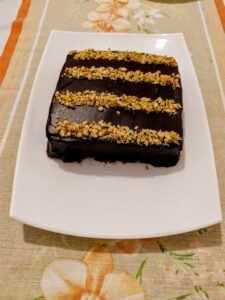
Do you like to enjoy the Ultimate Flourless Chocolate Cake? It is a delicately flavored dessert, which can enjoy for holidays or family reunions.
The recipe contains simple ingredients, and the processes are also simple and easy to follow by anyone.
Chocolate and cocoa play the principal role in this recipe. It tastes so delicious, and since we prepare light and flour-free sponge cake, it is gluten-free for those who are not tolerant of gluten.
I cut the sponge cake into four square pieces. The cake is for 6-8 people. You can choose to configure the lower cake and with other dimensions.
I invite you to try it. You can also try Chocolate Sufle.
Ingredients
For the sponge cake, Pan Size 35×30 cm
- 4 eggs (separate the egg whites from egg yolks)
- 2 tbsp of sugar
- a pinch of salt
- 1 tsp vanilla extract
- 120 g/4.23 ounce/1 cup of dark chocolate
- 30 g/ 1.05 ounce of unsalted butter
- 30 ml/ 2 tbsp of milk
For the chocolate filling cream
- 160 g/5.64 ounce of dark chocolate
- 90 ml/ 3.04 fl.oz heavy cream
- 300 ml/ 10.14 fl.oz sweetened whipped heavy cream (In case, the whipped cream is unsweetened, add 2 tablespoons of sugar)
For the cake syrup
- 50 ml/ 1.7 fl.oz warm water
- 1 tbsp of cocoa powder
- 1 tbsp of sugar
( Mix them well and let it cool completely before applying)
For chocolate icing
- 50 g/1.76-ounce cocoa powder
- 65 g/ 2.3 ounce of sugar
- 85 ml / 2.87 fl.oz water
- 85 ml// 2.87 fl.oz heavy cream
- 5 g gelatine in sheets
- walnut grains for decor
“As an Amazon Associate, I earn from qualifying purchases. Full disclosure.”
Directions
Step One – Sponge Cake
- In a bowl, we will add the chocolate and butter in pieces.
- We melt the chocolate in a water bath. So, we put the container where we have the chocolate in a pot with hot water, stirring them to dissolve together.
- After that, when the chocolate and butter have become one, add the milk, stir well, and set aside.

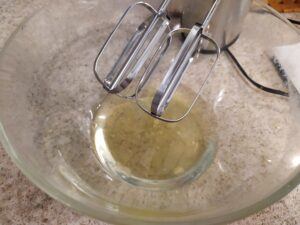
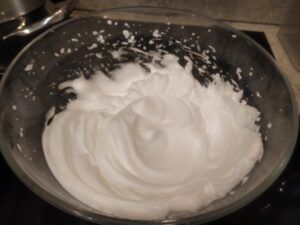
- In a deep glass bowl, beat with an electric beater the egg whites with a pinch of salt until they become firm.

- We will gradually add the sugar, stirring until we have a stable meringue but with a silky texture.

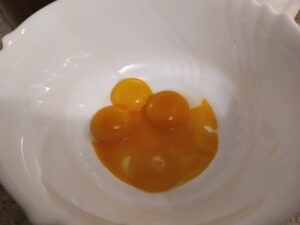
- In another bowl, beat the egg yolks with the vanilla flavor. We will also add the previously melted chocolate and mix well.

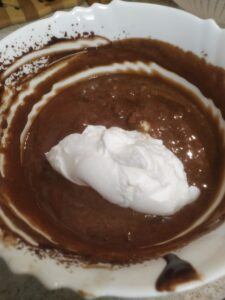
- Next step, add 1/3 of the firm egg white to the chocolate mixture and mix lightly from bottom to top with a spatula.

- Add the obtained mass to the rest of the egg whites, mixing it the same way until you get a homogeneous mixture without reducing the volume.
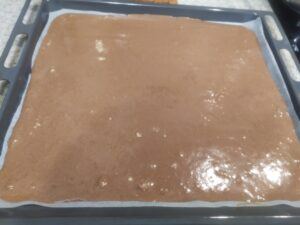
- We throw the mixture in a pan lined with baking paper. Open the dough well, and bake it in a preheated oven at 170 degrees for 20 minutes.

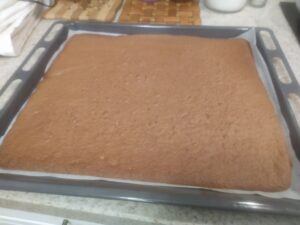
- After our sponge cake is ready, we remove it from the oven, turn it upside down by carefully removing it from the pan on a kitchen napkin and let it cool completely.

- After it cools, we will cut it into four equal parts, eliminating the wrong sides or corners.
Step Two- Cake Syrup
- Preparing the cocoa syrup with which we will coat the pieces of sponge cake when assembling the cake is just a minute of work.
- Mix the ingredients in a bowl until well digested, and set the syrup aside to cool.
Chocolate filling cream
- Next, we continue with the preparation of the filling cream. In a bowl, add the dark chocolate and 90 ml of heavy cream. Mix them well in a water bath to melt, as we did above. When the chocolate melt, set it aside to cool.

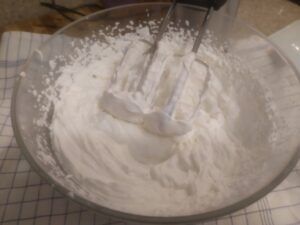
- Meanwhile, we will add the rest of the whipped cream to a deep bowl. We will beat it with an electric beater until we have a stable mass. If it is not sweetened, we will add the sugar and beat it together.
- Once ready, add the cooled chocolate, and mix well. We have chocolate cream for assembling the cake.
Cake Assembly
We will start with assembling the cake.
- Place the first layer of sponge cake on a plate and soften it with the prepared syrup by applying it with a kitchen brush.

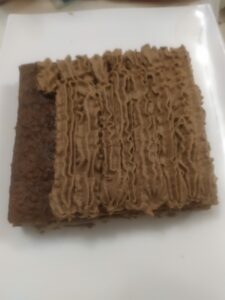
- After moistening the sponge, we apply the first layer of filling cream. We use a pastry bag for a uniform opening of the cake layers. Also, you can apply it directly by opening it with a pastry spatula.

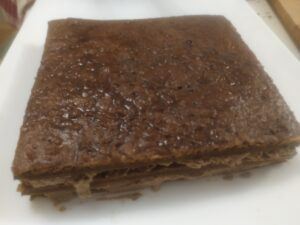
- We will continue like this by placing the layers one by one. So, soften them with syrup and then put the cream.
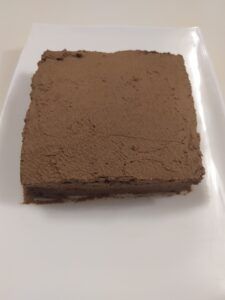
- Finally, apply chocolate cream on the outside of the cake, but not necessarily too much, as we will also put the layer of chocolate icing on the bottom.

- Place the cake in the refrigerator for at least 2 hours. Meanwhile, we prepare the chocolate glaze.
Chocolate Glaze
- First, place the gelatin in a bowl of cold water to soften.
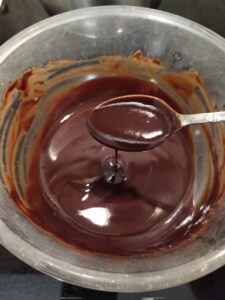
- In a pan, add the cocoa and sugar and mix. Add water, heavy cream, and stir until it dissolves.
- Next, put the resulting mass on the fire at medium temperature and stir until it boils.
- Remove from the heat, and as warm as it is, we will add the gelatin sheets squeezed from the water and stir it to dissolve completely.
- Finally, we pass the obtained glass through a sieve and cover it with a bag directly on the surface to not get air inside.
- So, we will put it in the fridge to cool for 1-2 hours.
Apply the chocolate glaze
- We will apply the glaze 40 minutes before serving the cake. Before throwing it over the cake, let it return in liquid form at a room temperature of 30 degrees.
- Also, if you hurry, you can put it in a water bath, and in a few minutes, we will be ready to throw it on the cake.
- Next, drain it again and apply on top of the cake. Place the cake on top of a grill. So, that the excess drains, and it will be a delicate and thin layer of glaze.
- Once the excess icing has drained, place the cake back in the fridge to rest for another 30 minutes before slicing.

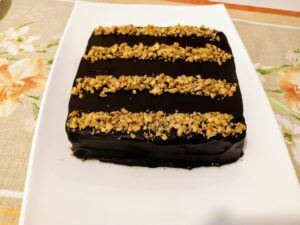
- Finally, we decorate the cake as we like, or leave it like this only with the chocolate icing.
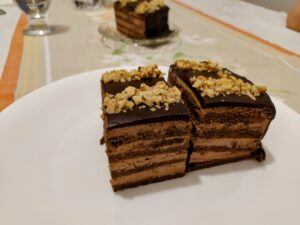
- Last, we cut the cake into slices and serve it as desired.

Bon Appetit!